Door Hanger, Take 3
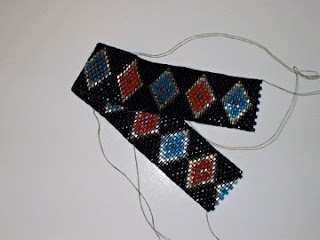
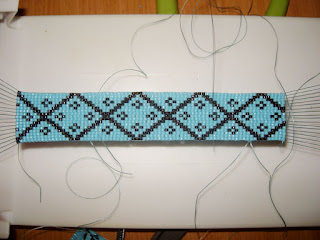
I started over immediately after I discovered my mistake in the door hanger I'm making for my daughter, but into row 3, I realized the tension was way too loose, and I don't think it was doing to get any better as I moved along.
So, I've unraveled my second attempt and have moved onto my third, which is good, because I made a few adjustments this time around.
So, I've unraveled my second attempt and have moved onto my third, which is good, because I made a few adjustments this time around.
- I wasn't too happy with the shade of blue I used the first two times, so I switched to one that has a little magenta in it.
- I decided to work from the bottom to the top instead of from left to right. By doing this, I realized that it was going to be much smaller than I had planned, so I modified the pattern.
- I switched from nymo thread to monofilament, which should give the hanger more stability. The drawback is that it might not be suitable for a door hanger because the interior doors in our house are hollow, and monofilament will make the hanger heavier. If that's the case, though, it will just go on the wall in her room.


Comments
Post a Comment